STBEmu Windows for IPTV: A Comprehensive Guide
In the era of streaming services and cord-cutting, Internet Protocol Television (IPTV) has emerged as a popular choice among TV enthusiasts. IPTV allows you to stream your favorite TV channels over the internet, providing a seamless experience without the need for a traditional cable or satellite connection. One player that stands out in IPTV is the STBEmu or STB Emulator for Windows. This comprehensive guide will walk you through everything you need to know about using stbemu windows for IPTV.
Downloading and Installing STBEmu on Windows PC
One of the key advantages of using STBEmu for IPTV is its ease of installation. You can easily download and install this powerful emulator on your Windows PC by following these simple steps:
- Visit the official STBEmu website and download the emulator’s installation file.
- Once downloaded, open the installation file and follow the on-screen instructions to install the emulator on your PC.
- After the installation is complete, launch the emulator from your desktop.
By using STBEmu, you can enjoy a variety of IPTV services on your Windows PC, making it a versatile tool for all your streaming needs.
Adding STBEmu App to Bluestacks
Bluestacks is a popular Android emulator that allows you to run Android apps on your Windows PC, including the STBEmu app. Here are the steps to add STBEmu to Bluestacks:
- Download and install Bluestacks on your Windows PC.
- Launch Bluestacks and go to the Google Play Store.
- Search for ‘STBEmu’ in the search bar.
- Click ‘Install’ to add the STBEmu app to Bluestacks.
Using Bluestacks with STBEmu provides a stable and reliable IPTV streaming experience.
Setting Up and Configuring STBEmu on Windows
Setting up and configuring STBEmu on your Windows PC is a breeze. With its user-friendly interface and robust customization options, you can set up the emulator to suit your streaming preferences. Follow the steps given below:
- Launch the STBEmu app.
- Go to ‘Settings.’
- Under ‘Preferences,’ select ‘IPTV.’
- Enter your IPTV subscription details.
- Click ‘OK’ to save your settings.
Once set up, you can take full advantage of STBEmu’s features, including efficient channel navigation and smooth streaming.
How STBEmu Operates
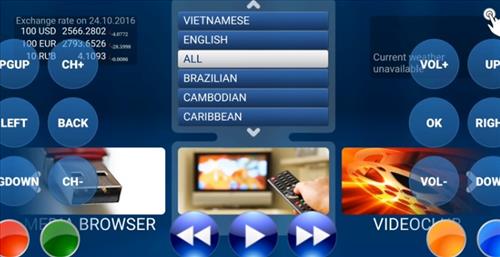
STBEmu operates by emulating an STB (Set-Top Box) device, allowing you to connect to your IPTV service and stream content directly from your Windows PC. The emulator comes with a user-friendly interface that makes navigating through channels and settings a breeze. Plus, with its smooth streaming capabilities, you can enjoy uninterrupted IPTV service right on your PC.
Setting Up IPTV on STBEmu for Windows 10 Using NOX Player
NOX Player is another excellent Android emulator that you can use to set up IPTV on STBEmu for Windows 10. Here’s how:
- Download and install NOX Player on your Windows 10 PC.
- Launch NOX Player and go to the Google Play Store.
- Search for ‘STBEmu’ and install the app.
- Launch the STBEmu app and go to ‘Settings.’
- Under ‘Preferences,’ select ‘IPTV’ and enter your IPTV subscription details.
NOX Player’s superior performance and compatibility make it a go-to choice for IPTV enthusiasts.
STB Emulators for MAC
For MAC users, there are several STB emulators available, though they might not offer the same features as STBEmu. Some popular options include iSTB, TV Streams, and GSE SMART IPTV. Each offers unique features and interfaces, so it’s worth exploring each to see which suits your needs best.
Final Thoughts
In conclusion, STBEmu Windows for IPTV provides a flexible and user-friendly solution for streaming IPTV on your PC. With its easy setup, robust features, and compatibility with popular Android emulators like Bluestacks and NOX Player, it’s a great tool for any IPTV enthusiast. If you haven’t yet tried STBEmu for your IPTV needs, give it a shot, and transform your streaming experience!